A fishing apparel tech pack is the working specification that turns a product idea into a sample a factory can measure, quote, and inspect. It does not have to be a 40-page document. It does need to make the important choices visible: the garment construction, fit, fabric target, artwork, branding, packing, and open decisions.
Quick answer: Before sampling a fishing shirt or sun hoodie, send the factory a front-and-back garment view, a base-size measurement chart, fabric and performance targets, artwork placement, label and packing requirements, size range, target quantity, and destination market. Mark any unknown item as a decision to confirm rather than leaving it unstated.
What a Fishing Apparel Tech Pack Must Answer Before Sampling
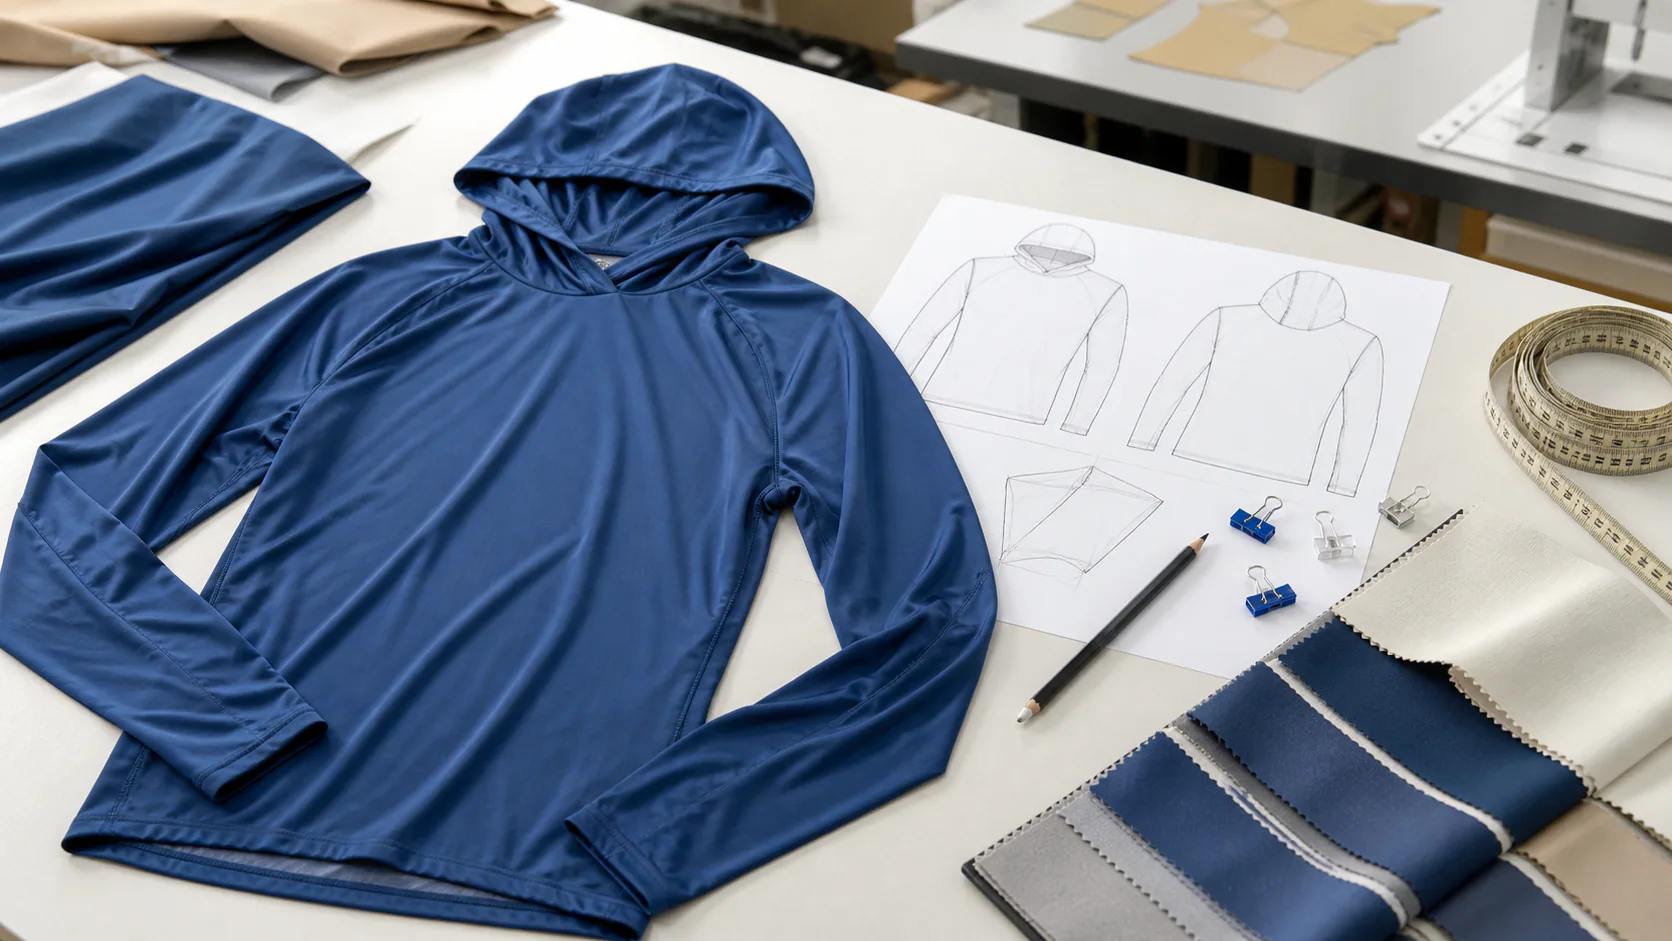
The word fishing apparel covers very different products. A hooded UPF sun shirt, woven guide shirt, tournament jersey, and insulated outer layer each need different materials, patterns, trims, print routes, and checks. Start the document by defining the product and use case, then give each production function a usable instruction.
| Section | Include this | Why it matters |
|---|---|---|
| Product brief | Style name, wearer, climate, use case, destination market | Gives the factory a starting point for fit, fabric, construction, and labels |
| Technical views | Front, back, side or close-up views where needed | Shows seams, panels, hood shape, vents, cuffs, pockets, and trims |
| Measurement chart | Base size, points of measure, grading, tolerances, and measuring method | Lets the pattern maker and QC team check the same targets |
| Material brief | Fiber content, GSM, fabric construction, stretch, color, finish, and performance target | Makes supplier options and sample quotations comparable |
| Artwork map | Source files, locations, dimensions, colors, print method, and seam clearance | Keeps graphics aligned after cutting and sewing |
| Branding and pack-out | Labels, hangtags, bags, carton marks, size ratio, and destination-market needs | Prevents a correct garment arriving without the required retail details |
Start With the Product and Use Case
Describe where the garment will be worn and what must work in that environment. For a hot, humid inshore sun hoodie, that may mean a lightweight hand feel, hood coverage, thumbhole position, breathability, fast drying, and room to cast. For a charter uniform, repeat sizing and logo consistency may matter just as much. For a retail private-label range, the neck finish, color story, hangtag, and unboxing presentation also belong in the brief.
Write the features as decisions, not as impressions. “Long sleeve” becomes “sleeve covers the wrist when the arm is extended.” “Good hood” becomes a stated hood shape, face opening, and whether a drawcord is acceptable. This gives the factory something it can confirm or challenge before a pattern is made.
Step 1: Show the Front, Back, and Critical Construction Details
Use a flat sketch or a carefully annotated reference image. A photograph of a competitor garment can communicate a starting point, but it does not replace a production view. Include both sides and add enlarged views where the construction could be interpreted in more than one way.
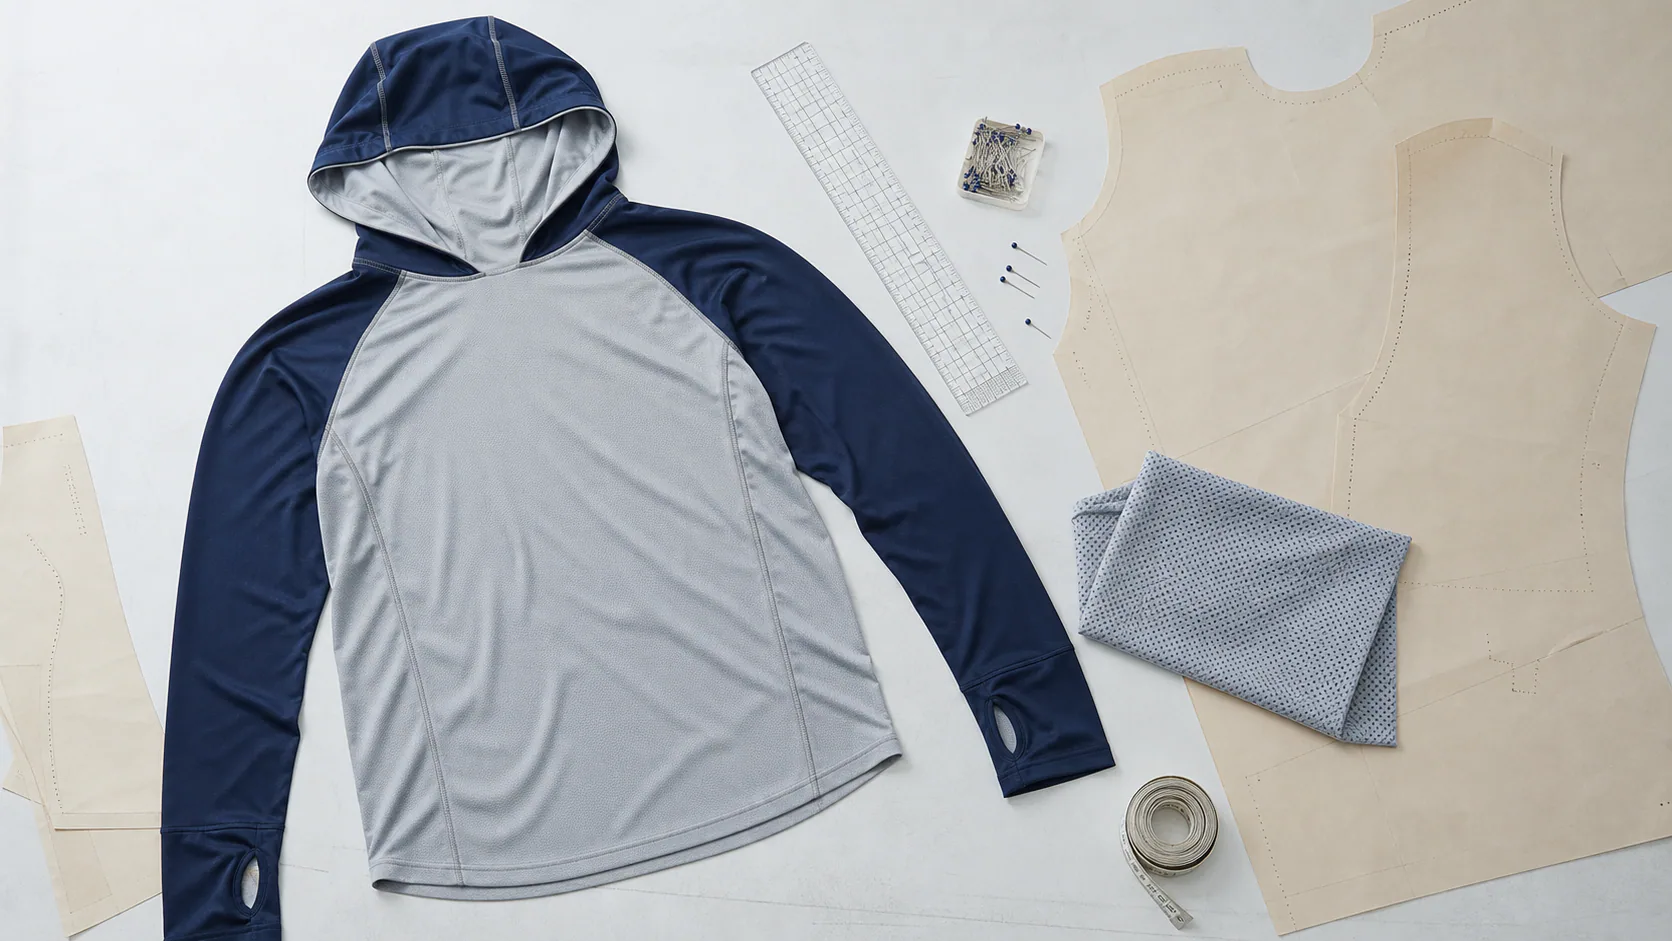
For a fishing sun hoodie, identify the raglan or set-in sleeve, panel lines, hood panels, neck finish, side or underarm ventilation, cuff construction, thumbhole, hem shape, and any pocket or zipper. If the back yoke, vent, or print layout differs from the front, show it separately. A factory cannot reliably infer an unseen back detail from the front view.
Step 2: Build a Point-of-Measure Chart
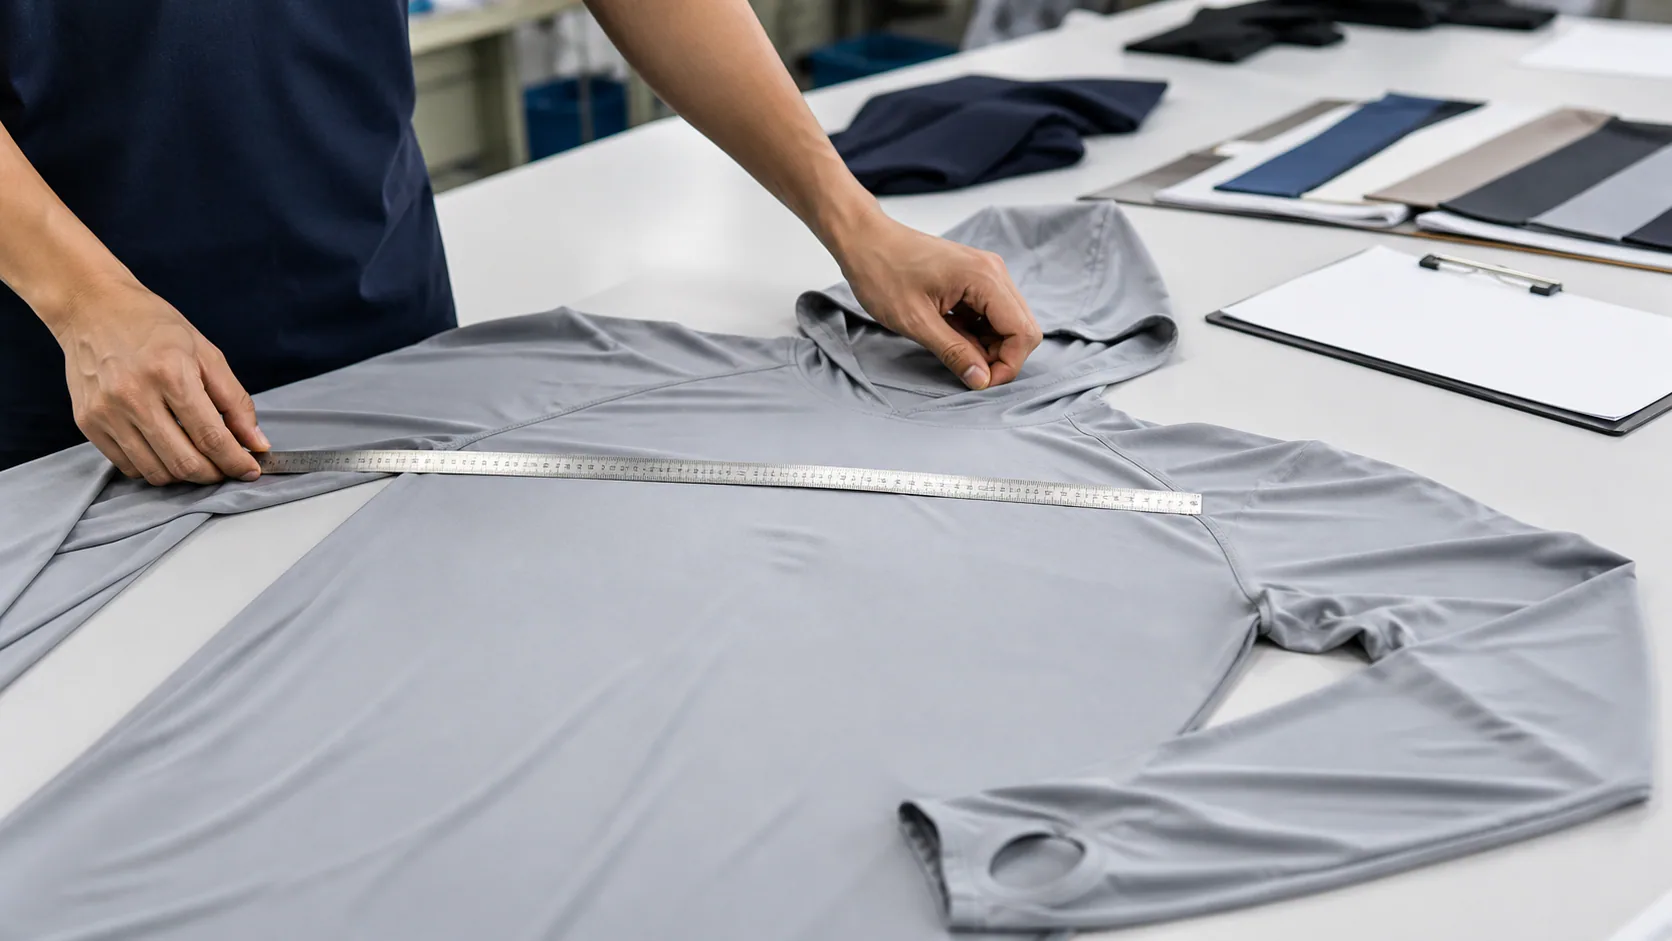
“Medium” is a size label, not a production measurement. Create a point-of-measure (POM) chart for the base size, state how each point is measured, and add a grading rule or full measurements for the remaining sizes. Add tolerances so the factory and inspection team know the acceptable manufacturing variation.
For a hooded fishing shirt, the chart normally includes body length from high point shoulder, chest width laid flat below the armhole, bottom opening, sleeve length, bicep, cuff opening, neck opening, hood depth, hood face opening, and thumbhole placement. The exact values must come from your fit target or an approved reference garment; the list below is only a reminder of the dimensions that commonly get missed.
| Area to control | Include in the chart |
|---|---|
| Body and sleeve | Measuring method, target dimension, tolerance, and size grading |
| Hood and neck | Hood depth, face opening, neck opening, seam or binding finish |
| Cuff and thumbhole | Cuff height, thumbhole size, thumbhole distance from cuff edge |
| Hem | Straight, curved, or drop-tail shape; front and back length if they differ |
| Vent or pocket | Opening dimensions, location from a fixed point, reinforcement details |
If you send a reference garment, name the size, record its measurements, and say which elements should be copied and which should change. “Like this, but lighter” is useful context; the written chart is the instruction that should govern the sample.
Step 3: Specify Fabric and Performance Claims Carefully
Give the factory a target rather than assuming any polyester knit will perform the same. List the desired fiber blend, GSM range, knit or weave, two-way or four-way stretch, fabric hand, color direction, moisture-management expectations, and whether mesh or another contrast fabric is allowed in a given panel. Our overview of fishing shirt fabric options can help narrow the starting point.
For a UPF claim, state the exact claim you want to evaluate and ask what test report can be supplied for the proposed material. AATCC TM183 is a method for measuring UV radiation blocked or transmitted through fabric, including dry or wet specimens. Confirm whether a report applies to the exact fabric construction, colorway, treatment, and finished-garment configuration you plan to sell. Do not treat an unrelated fabric report as automatic support for every color or style. Our custom UPF fishing shirts page covers the product-development questions to settle before material approval.
Step 4: Map Artwork to the Actual Garment Panels
Send original editable artwork where possible, along with a placement map. For every logo, print, sponsor mark, or repeating pattern, note the garment location, finished dimensions, color reference, required blank area, and preferred application method. Useful production files are AI, EPS, SVG, or a true vector PDF; confirm with the factory which format its print workflow accepts.
All-over sublimation needs special attention. Artwork is printed on cut panels, not on a finished shirt. A graphic that looks centered on a screen can move at a raglan seam, hood join, zipper, or side panel. Include a panel map and protect critical logos from seam allowances. If you are deciding between methods, see embroidery vs. sublimation for fishing shirts.
Step 5: Add Labels, Trims, and Packaging Before the Sample Is Approved
List every item that makes the garment sale-ready:
- Main label, size label, care label, printed neck label, or woven label
- Hangtag, barcode, polybag, header card, hanger, size sticker, and carton mark
- Zipper, drawcord, cord lock, patch, binding, tape, or other trim
- Folding method, individual packaging, carton quantity, and size assortment
For U.S. consumer sales, most textile products need disclosures for fiber content, country of origin, and the responsible business, and garments need appropriate care information. The FTC apparel-labeling guidance and Care Labeling Rule are useful starting points; confirm the final requirements for the sales market before bulk production. For branded retail details, review our custom hangtags and packaging options.
What to Send When You Do Not Have a Full Tech Pack Yet
You can start a productive factory conversation without every field completed. Send these items, label the gaps, and ask the factory to return questions and recommendations:
- A clear front and back reference, sketch, or annotated photo.
- The garment type, end use, target customer, destination market, and desired fit.
- At least the key body, chest, sleeve, and hood measurements, or a reference garment to measure.
- Fabric direction, including composition or hand-feel target and an approximate GSM range.
- Logo and artwork files, placement notes, and an indication of all-over or placement printing.
- Must-have details such as a structured hood, thumbholes, vents, pockets, or a specific hem.
- Size range, expected order quantity, and requested sample timing.
This is not a substitute for a final tech pack. It is enough to help a factory identify the missing decisions before it prices or makes assumptions.
What a Factory Should Return Before Charging for a Sample
A good response is more than a price. Before sample development, ask the factory to return a clear record of what it has understood and what it still needs from you:
- A specification confirmation or list of questions, including any construction conflict.
- Proposed fabric options with composition, GSM, available colors, and relevant test-document availability.
- The selected sample route: blank adaptation, pattern modification, or new pattern development.
- Sample cost, development lead time, artwork or pattern charges, and what is included in each revision.
- A preliminary size range, MOQ, and quotation assumptions for bulk production.
- A record of any substitute trim, print method, or packaging item that could change cost or appearance.
Questions are a useful sign when they close an actual production gap. The goal is not to create unnecessary back-and-forth; it is to eliminate guesses before the first sample is cut.
Approve the Sample With a Revision Record
When a sample is approved, make a dated record that ties the sample to its fabric, color, pattern, artwork, labels, packing, and measurements. Add a revision number every time a change is made. Keep the comments in the tech pack or attached approval sheet, not only in a scattered email thread.
That record becomes especially valuable on a reorder. It shows whether a new fabric lot, updated artwork, trim substitute, or packing instruction is a planned change or an unintended drift from the approved version.
Fishing Apparel Tech Pack Mistakes That Cause Avoidable Sample Changes
Naming a color instead of defining it. “Navy” varies by mill and screen. Use a Pantone reference, physical swatch, or a factory color card approval.
Specifying the front but not the back. Back yokes, vents, print areas, and hem shape often disappear when only the front is shown.
Leaving cuff, hem, and hood finishes to a default. Those details affect coverage, cost, fit, and durability. Put them in the construction view and measurement chart.
Adding a UPF claim at the hangtag stage. Decide the claim and evidence needed while the fabric is being selected, not after artwork and packaging are final.
Changing a detail by email without revising the file. If the collar, logo, or measurement changes, update the tech pack revision and send one current version to the factory.
Frequently Asked Questions
Do I need a designer to make a fishing apparel tech pack?
No. A brand can begin with a reference garment, a clear sketch, key measurements, fabric direction, and artwork. A factory or technical designer can help turn those inputs into a production document. The buyer still needs to approve the final choices.
Can a factory start a sample from photos alone?
It can start a discussion or exploratory sample, but photos alone leave fit, construction, fabric, and artwork decisions open. Use photos together with an annotated brief and measurement direction if you want a sample that can be evaluated fairly.
What file format should the tech pack use?
PDF is practical for a controlled, shareable version. Keep editable source files for artwork and any measurement spreadsheet, and include a date and revision number on every version sent to the factory.
When should I request a bulk quotation?
Request it once the factory understands the product, quantity, size range, print method, trims, packing, and delivery terms. If a cost depends on an unapproved fabric or label, have that assumption written into the quotation.
Ready to Turn a Concept Into a Controlled Sample?
Send your reference garment, sketches, fabric direction, artwork, quantity, and sales market. We can help identify the specifications that need to be settled before the first sample. Explore custom fishing shirts, custom fishing hoodies, or contact our product team with your starting brief.