Quick answer: Review a fishing shirt sample against the agreed material, measurements, fit, construction, artwork, labels and packing. Identify substitutions and unfinished decisions. Record each issue with its location, evidence and required result, then approve the exact sample and document versions that may proceed to bulk production.
A shirt can look convincing in a front-view photo while leaving important questions unanswered. The sleeves may restrict reaching, a pocket may be hard to use, or the material may differ from the one proposed for production. A useful sample review turns those observations into decisions the factory can follow.
Start with the tech pack or agreed product brief, the measurement chart, the artwork and the supplier’s sample notes. If a requirement was never defined, agree on it before treating the sample as a pass or failure.
In this guide: Identify the sample · Measure and fit · Review construction · Record changes · Issue approval.
Identify the sample and its approval scope
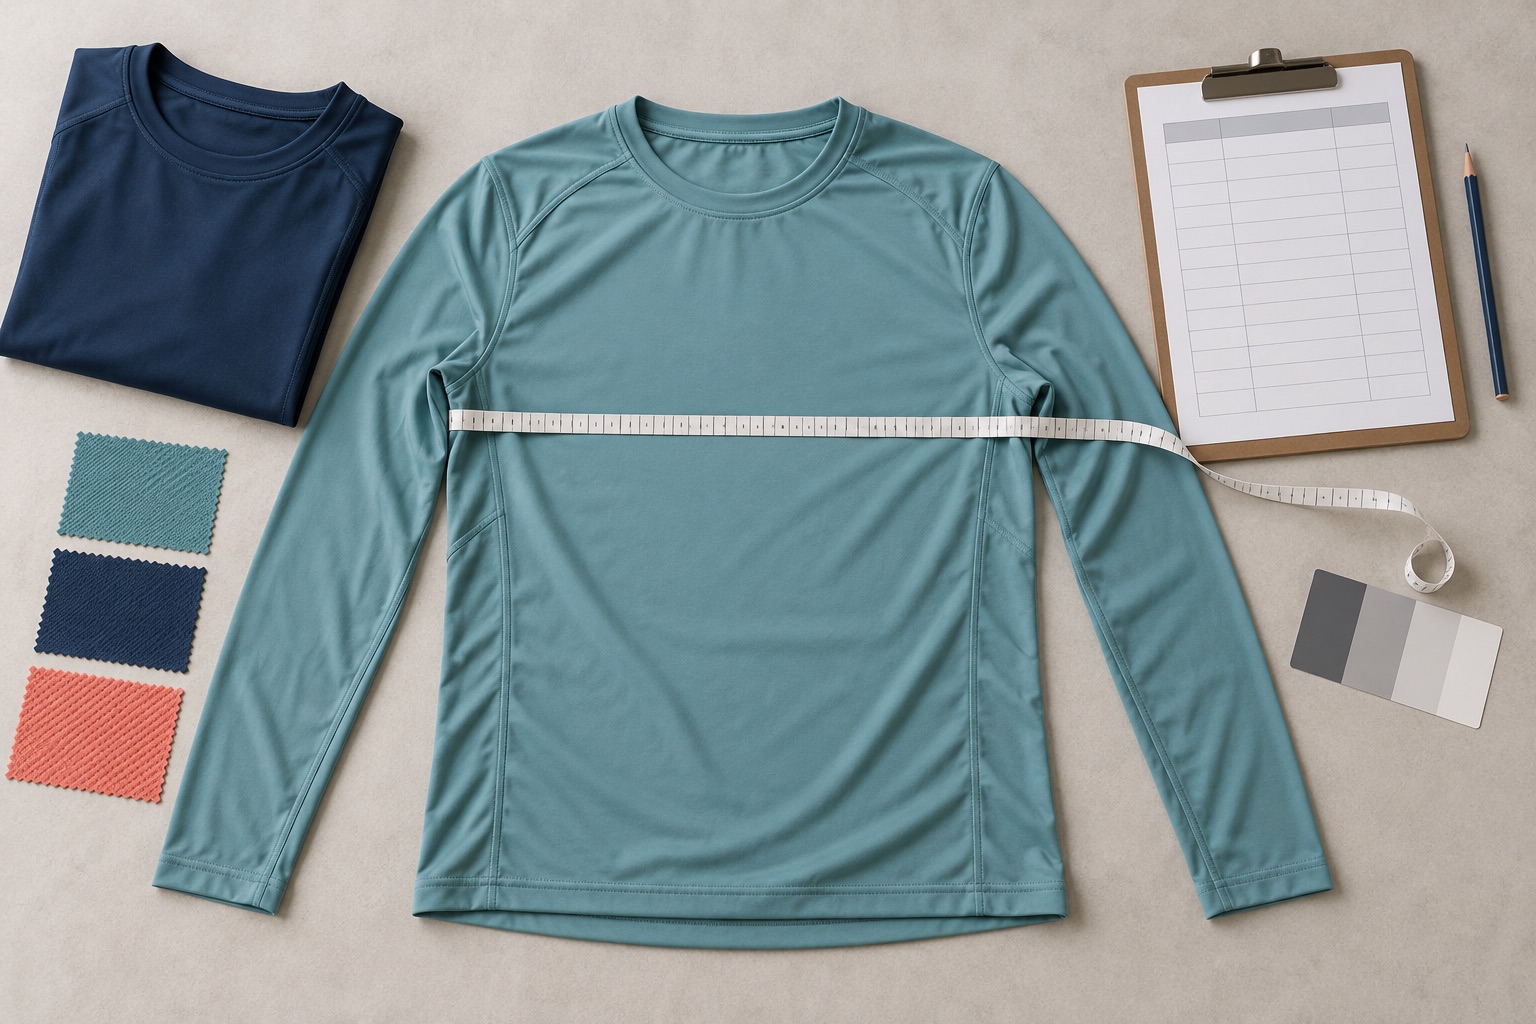
Give the garment a sample ID and connect it to the style, size, material reference and revision being reviewed. Photograph the front, back and relevant details. Keep the supplier’s declared substitutions with the same record.
Sample-stage names vary between suppliers. Ask what this particular sample is intended to establish and what remains open. A fit sample made from a substitute fabric may help evaluate proportions while leaving the final print color and fabric performance unapproved.
| Record | What to confirm |
|---|---|
| Sample identity | Style ID, sample ID, size, fit, date received and revision. |
| Purpose | Development, fit, print, size-set or production approval; use the supplier’s agreed scope. |
| Material | Actual fabric and trim references, including any declared substitutions. |
| Related files | Current measurement chart, artwork, label and packing versions. |
| Open decisions | Unfinished features and the evidence or new sample needed to close each item. |
Keep a clean reference available for color, fit and construction comparisons. If you will wash or otherwise alter a sample during review, agree whether an additional reference garment or retained swatch is needed.
Match the material to the product brief
Compare the sample with the proposed fabric and any approved swatch. Record appearance, hand feel, stretch and recovery observations, but keep them separate from properties that require measurement or testing. Touching a garment cannot establish its fiber composition, finished weight or UV performance.
Check that the material code or description, composition, weight, color and finish match the current specification or an explicitly declared sample substitution. If the fabric has changed, ask how the change affects the product and which approvals need to be repeated.
For a performance claim, review the relevant report, specimen description and conditions against the proposed material or garment. AATCC lists separate methods for evaluating garment dimensional change after laundering and UV transmission through fabrics; they address different properties. Its public standards directory is a useful reference when discussing the required evaluation with a laboratory. A fabric report and a finished shirt review answer different questions.
Measure the shirt and check the fit
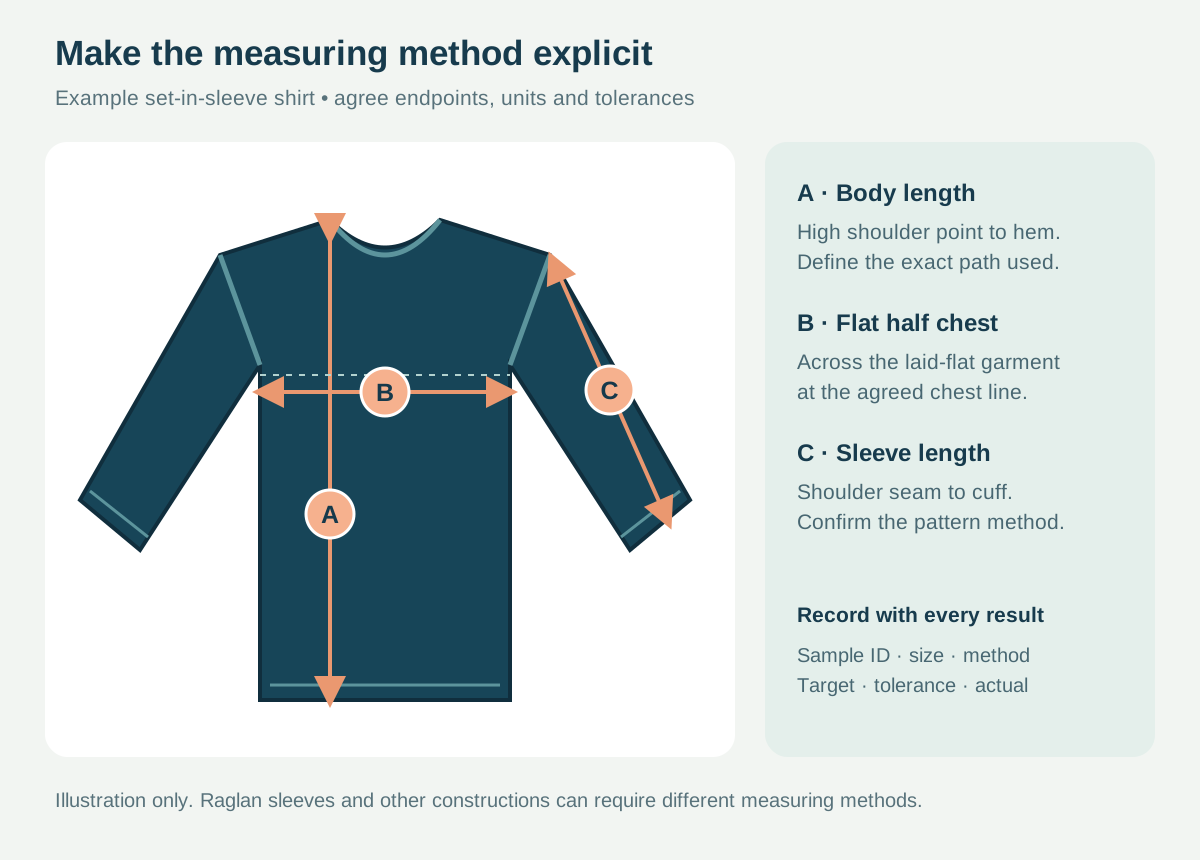
Use the agreed points of measure, units and garment preparation. Lay the shirt as specified and avoid pulling a stretch fabric to make a dimension match. Record the actual value, then compare it with the target and the agreed tolerance for that point.
For each dimension, define where measurement starts and ends. A sleeve measured from the shoulder seam is different from a sleeve measured from the center back. A flat half-chest width is different from a body chest circumference. Use the method associated with the approved chart.
| Measurement record | Why it matters |
|---|---|
| Target, unit and method | Establish the intended dimension and how it is measured. |
| Agreed tolerance | Defines the accepted variation for that point; it is not a universal number. |
| Sample result | Records what was actually measured, including the sample ID and size. |
| Difference and action | Identifies the correction or decision needed before approval. |
As an arithmetic example only, a target of 60 cm with an agreed tolerance of ±1 cm would not include a measurement of 58 cm. That is a 2 cm shortfall. These values are not an inspection result or a recommended tolerance for your product.
Then check the intended fit on an appropriate wearer or fit form. Ask the wearer to reach forward, raise the arms and sit as the garment will be used. Observe sleeve reach, neckline comfort, hem coverage and restriction. On a hoodie, review the hood and face opening; on a button-up, check the collar, pocket access and roll-up sleeve arrangement.
One approved sample size does not establish the whole graded range. Agree how other sizes and men’s, women’s or youth patterns will be reviewed. Our size-chart library can help identify measurement categories, while your approved program needs its own final specification.
Inspect construction and decoration
Review the shirt outside and inside. Look at the details that affect its intended use and compare them with the drawings, sample comments and approved references. Photographs should show both the location on the garment and a close view of any issue.
| Shirt type | Details worth checking against the specification |
|---|---|
| Sublimated jersey | Graphic scale, logo legibility, panel orientation, color reference, seam clearance and approved matching requirements. |
| Woven button-up | Collar shape, front closure, pocket size and access, vent opening, mesh attachment and sleeve tabs. |
| Fishing hoodie | Hood shape, neckline, sleeve reach, cuffs, thumbhole location and hem coverage. |
| Polo or uniform shirt | Collar and placket construction, logo position, seam appearance and the intended fit. |
Check seams for openings, broken or skipped stitches, puckering and the finish specified for the material. Operate buttons and zips, check pocket openings and examine the inside of decoration areas. Describe the observed issue and the required correction instead of inventing an acceptance threshold after the sample arrives.
For color, use the agreed physical reference and viewing conditions. Photos and screens can help discuss a difference, but they do not automatically serve as a physical color standard. Confirm which print, fabric or trim reference controls the decision.
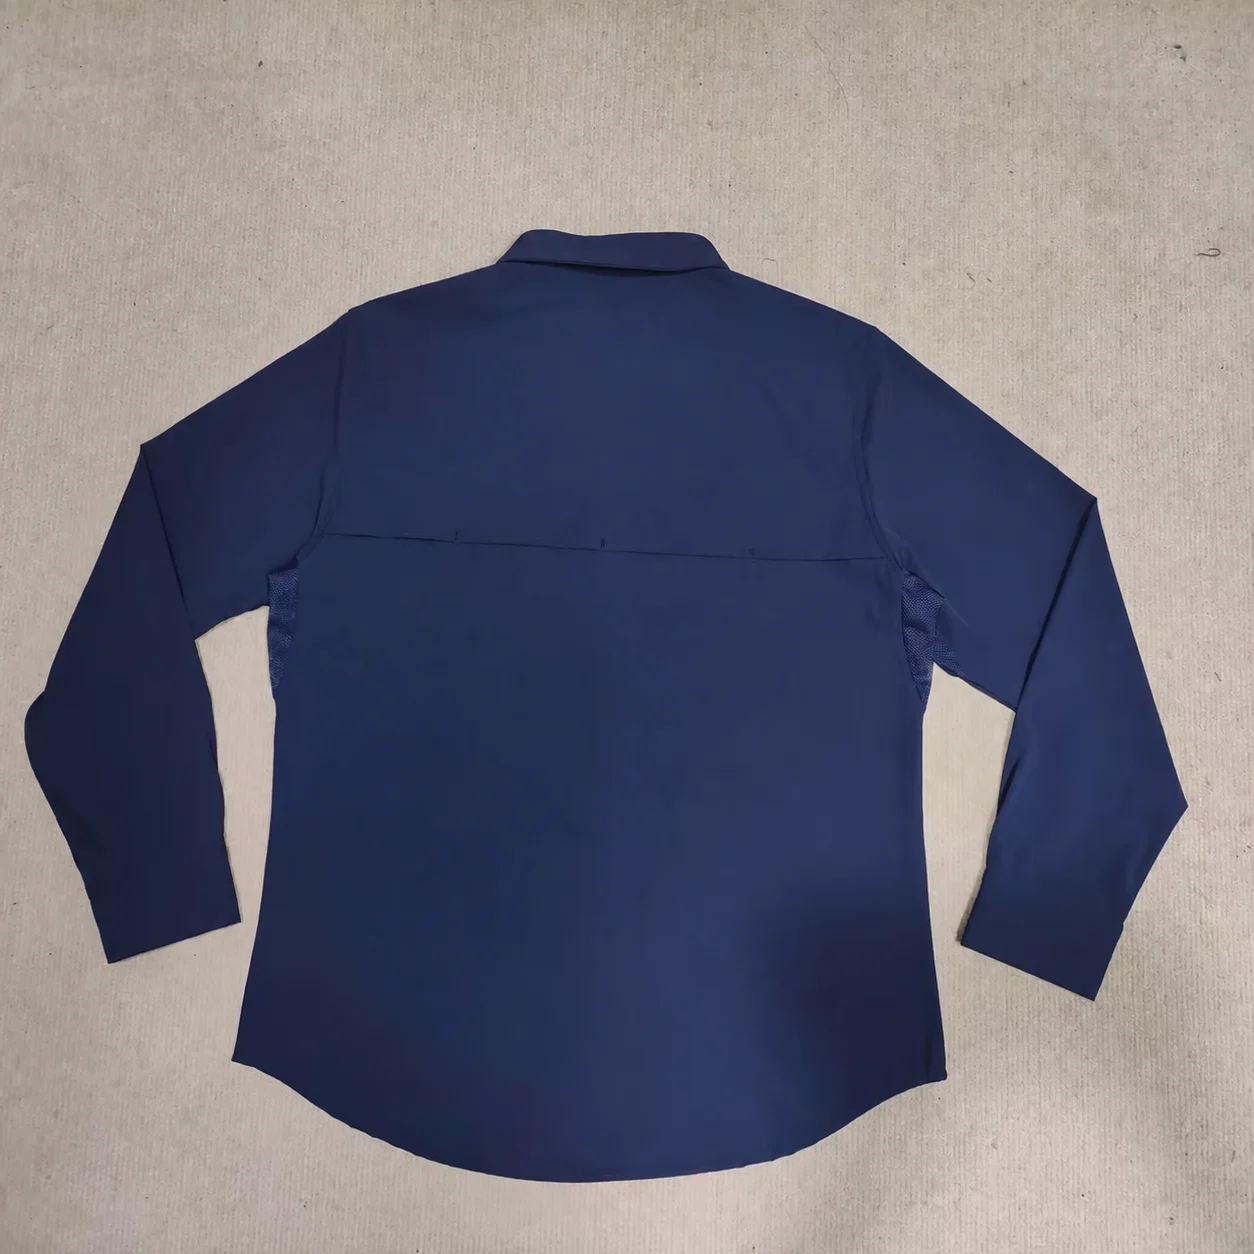
The 1,000-piece US button-up project shows why the complete garment matters: pockets, ventilation and adjustable sleeves were part of one product brief. Their appearance and function should be reviewed together rather than approved from separate component pictures.
Record laundering observations under defined conditions
If laundering is part of the agreed review, record the care procedure, number of cycles and drying approach. Measure the identified points before and after using the same agreed method. Photograph changes in shape, surface appearance, decoration, labels and seams.
A wear trial or home wash can reveal issues to investigate. A formal test claim needs the specified procedure and appropriate evidence. AATCC’s laundering training overview describes evaluations covering dimensions, skew, seams and appearance. Agree the relevant method and acceptance criteria with the supplier or laboratory before relying on a result.
Keep pre-wash approval and post-wash observations separately identified. If an outcome is unacceptable, record what changed and decide whether the material, construction or care instructions need review. A comfortable first try-on does not resolve later dimensional or appearance questions.
Check the labels and packing details
Review the label artwork, size identification, placement and attachment against the order requirements. Confirm that care and performance wording have the necessary support and destination-market review. On a retail program, check the agreed hangtags, bags, barcodes and assortment instructions as well.
If final labels or packing were not included with the sample, list them as open. A garment sample can be approved for a defined construction while the order remains on hold for unfinished brand or packing decisions. Our hangtag and packaging page explains the components to include in that discussion.
Write comments the factory can act on
Replace general reactions with location, evidence and the required result. Keep one revision log so the technical team can see the current instruction and how it will be verified.
| Unclear comment | A more useful instruction |
|---|---|
| ”The sleeve is short.” | Identify sample and size; state measurement method, target, actual result and the required revision. |
| ”Move the logo a little.” | Identify the artwork revision and panel; specify finished dimensions and position from an agreed reference. |
| ”Make the vent better.” | Show the affected area and explain whether access, opening, mesh, stitching or appearance needs to change. |
| ”The color is wrong.” | Identify the approved physical reference, affected component and conditions used for comparison. |
Assign an issue ID to every open comment. Add the responsible person, requested evidence and closure status. A correction may be checked by a new photograph and measurement record, a replacement swatch or another physical sample, depending on what the issue affects.
Issue a specific approval and retain the reference
Make the decision explicit. State what is approved, what is still on hold and what evidence is needed before the next stage. Avoid an unrestricted “approved” message when material, fit or artwork decisions remain unresolved.
| Decision | What the written record should say |
|---|---|
| Approved for the stated scope | Identify the sample and the exact specification, material, artwork, label and packing versions covered. |
| Revision required before release | List the open issue IDs, affected approvals and evidence needed to close them. |
| Another sample required | State what the next sample must demonstrate and which earlier decisions remain valid. |
For a team order, connect the approved garment and artwork to the final roster. The tournament shirt order guide provides the separate controls for names, sizes and sponsor versions.
Retain the approved reference and a dated sign-off accepted by the buyer and supplier. If a bulk material or component later changes, document the substitution and obtain the necessary new approval. Sample approval establishes the reference; production still needs the agreed material, process and finished-goods checks and a route for resolving nonconforming goods.
Start a sample with clear decisions to resolve
Send EZ Fishing Wear the garment type, reference or current tech pack, target fit and market, material direction, artwork, intended quantity and the details you need to develop. We can review the sampling route and identify missing decisions before work begins.
Our typical sample planning reference is about two weeks after the main material, measurement, construction, artwork and trim details are confirmed. Custom material work, special components and revisions can extend the schedule. The sample scope, fees and timing are confirmed for the project. Discuss an OEM sample, or use the bulk cost guide to prepare the quotation scope.
Sample approval questions
Can I approve the shirt from photos alone?
Photos can verify visible details and specific corrections, but they do not establish hand feel, fit, movement or all performance properties. Agree which decisions require a physical sample, measured record, swatch or test evidence.
What measurement tolerance should I use?
Agree it for the actual point, material and garment with the supplier before review. Record the measuring method and units. One tolerance should not be assumed to cover every dimension, size or construction.
Should every revision require a new physical sample?
Choose evidence that can resolve the actual issue. A substantial fit, fabric or construction change may need another garment. A narrowly defined artwork or label correction may use a different agreed verification route. Record the decision before release.
Does an approved sample guarantee the whole bulk order?
It establishes the approved reference for its stated scope. The bulk order still requires its agreed quality checks, inspection arrangements and corrective-action process. Connect those requirements to the production order before manufacturing begins.
Written by Victor, Founder of EZ Fishing Wear. The measurement diagram and templates are review tools, not universal garment specifications or completed inspection reports. The actual sample photograph comes from the linked company case study.